
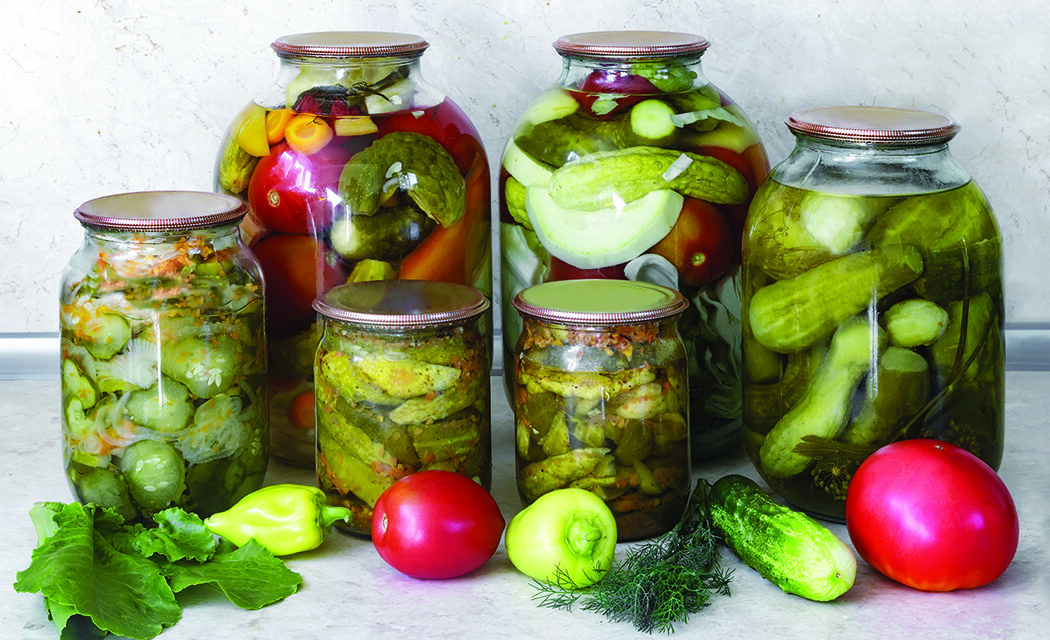

Taking the time to preserve your own food will leave you with fresh foods that better retain their nutrients and are traceable right to your own backyard.
After growing your garden with sunshine, sprinkles of rain and love, the time to pick and preserve your garden bounty has come.
Depending on how the season is going, that could involve blood, sweat and tears, too.
But joking aside, canning and preserving often get a tough rap as they are labor intensive and can be intimidating, but for the pride and product you get as an end result, those who do it say it’s far worth the effort.
There are so many reasons to can and preserve your food. Taking the time to preserve your own food will leave you with fresh foods that better retain their nutrients, are traceable right to your backyard, and, well, it’s just a pretty cool thing to put in the work and produce your own food.
However, you will find there’s more to it than just the process of reading instructions and recipes to make sure you have a successful canning day — or days.
First up, are you and your veggies ready to can? Just because you have a weekend free, you also need to make sure your produce is at its peak. It takes time, effort and money to grow your vegetables and even more time, effort and money to can. Do justice to your work by waiting until your cucumbers are perfectly crunchy to make the crispest pickles or your berries are their ripest for the sweetest jam. As your husband says when he’s holding up the family for a trip, “you can’t hurry greatness.”
If all do seem ready, once again look over your garden yield and decide what you are going to freeze, dehydrate, or can. You may have done this when you originally planted your garden but now that you know exactly what you are working with, a re-evaluation won’t hurt. You may find you need to supplement an item from a neighbor or farm stand, or conversely, you have some extra to freeze for casseroles.
Remember, if you have limited freezer space or live in an area where you seem to lose electric every other week, consider freezing only a few items. While canning jars can be easily stowed, frozen products do have a firm capacity limitation.
If that’s not an issue, freeze away with your family favorites in mind! If you like to bake blueberry muffins, freeze berries in pre-measured bags the size your favorite recipe calls for. If your family uses them to toss into a smoothie or into oatmeal to cool it down, put them in a larger freezer bag to grab a handful.
For freezing veggies, cut them how you’d typically serve or use them whether it’s spears, shreds, chunks or slices. Peppers should be ready to throw in tacos and carrots cut to the preferred size for soups.
Items that tend to have a high moisture level that lead them to stick together, such as squash or zucchini, do well being laid in a single layer for a “flash freeze” on a cookie sheet before you toss them together in a bag.
The key is to make them usable so the more you can set yourself up now for success later, the better.
Keep the same mindset for canning. Just because your recipe might call for a certain size jar, doesn’t necessarily mean that is the best fit for your family. If you’re only using a jam on the weekend when you have time for big fluffy pancakes you may want to go for a smaller size than if you like to bring a big jar to group gatherings or eat on toast throughout the week.
If you plan on re-using jars from prior years, make sure they are truly cleaned up and ready to go.
Double check that you are not using single use jar lids as the adhesive on the undersides is only able to safely seal once. After that, they’re best used for general storage rather than canning. Also, make sure they show no signs of rust or wash wear.
After getting your storage size and quantities decided, make sure you aren’t over promising your ingredients. This goes for both your produce and your add-in ingredients. Measure out a few tablespoons or teaspoons so you can trust your eye-balling measuring, especially if more than one recipe uses the same spice. Those small jars can get used up quick.
Next, prep your space. Clear off a large space to work, tucking away extra appliances from your counter if necessary. Don’t have a large workspace? Bring in a sturdy fold out table for extra room. You can even set up a spot in an adjoining room to move finished jars over to. Get extra elbow room any way you can.
You’ll also want to layout a generous supply of dish towels or paper towels as jars will need to be wiped and counter spills are sure to happen.
Your sink should be empty as well as your dishwasher, as you’ll need them before, during and after. The less stuff to work around the better.
As for making a pleasant environment, have your kitchen radio handy or make sure your phone charger is nearby if you plan on tuning in to a podcast or stream music — choices that canners from decades ago didn’t have.
Speaking of screens, consider printing off Internet recipes or find a spot to photocopy recipes from your cookbook to make them easy to check measurements at a glance. Having to “wake up” your screen over and over with sticky fingers is beyond annoying.
Some other handy things you may want to have around include a kitchen scale, as it’s hard to gauge “four pounds of tomatoes.” A bucket or bowl for veggie scraps to be tossed in is also good to keep your mess organized, and as always, your chickens or composter will be quite pleased.
As for other things you may not want to have around, while it’s true smaller children don’t belong around a hot pot or canner, don’t shoo them out of the kitchen completely.
Chopping items up as they are able, washing vegetables or measuring out ingredients to stir are good ways to get them involved. If you can, let them take ownership of a kid friendly item, like refrigerator pickles or a jam.
In a few years, you’ll have a well-trained partner.
When you get going, don’t forget to label your jars or containers.
While you might think it’s easy to tell frozen salsa from frozen stewed tomatoes, give it a few months and you may change your mind! Also be sure to add the year, as there’s always a jar or two to mysteriously appear from an odd spot.
Lastly, have something easy ready for dinner. After a long day of canning, the chances of wanting to cook or wanting to go out to eat will probably be slim.
Soon after your canning adventure, jot down some notes near your planting notes or garden journal.
Some handy things to include are the number and size of the jars or the number of bags you were able to process, whether you ended up with too many or too few tomatoes or if the squash variety you chose ended up being too seedy. Note the day you did your canning as well, so you can have a better idea of peak season in your environment.
If you aren’t using age-old memorized family recipes, attach your printed out recipe in your notebook. Too much Internet scrolling could leave you not remembering which recipe you finally settled on.
If you keep an all-encompassing garden and canning journal, jot some sweet notes in there too, like your daughter’s first year dicing strawberries or the song you all sang to. As you flip through year by year, it will be fun to see the play in with the work. Love is a handwritten recipe, too, after all.
As you start to enjoy your bounty, keep track if certain recipes aren’t your favorite. While you need to follow recipes to a “T” from a trusted source to make sure acidity stays in check, perhaps next year you plant a spicier pepper or simply try a different recipe. When you are making your own food, you have the option to make it catered just to you.
Just remember, you “can” do it!


